Sunday, June 10, 2012

Garage sale makeover: Medicine Cabinet

Medicine Cabinet Makeover!
I picked this gem up at a local garage sale for about $3
I made sure to sand it really good because it kind of  had a varnish finish on it
Then I painted a lovely gray color 
And then I used my die cutter to cut out some decorative shapes.  Then I used modge podge to seal them on there, or you could use vinyl!

Labels: , , ,

Wednesday, May 2, 2012

Time out stool Tutorial

So I saw this timeout stool on Pinterest and I really wanted it but since I'm poor and I didn't want to pay $70 and who knows what for shipping I thought to myself "I can make that"!  All the materials cost under $25 to make.  The only thing you may need to worry about is that the plastic bottles are not very durable so if they get dented I'm not really sure how you would pop them back out?
Made this bad boy this weekend and all the materials cost under $25!  It ended up being 14" high and 12" wide.
You will need: (2) empty clear soda bottles, (2) 12" wood or MDF circles (I found mine at Lowe's), (3) 14" legs (We trimmed the long end down so they were 12" long), (1) 2" wood doll head (I found mine at my local craft store), spray paint, washer (make sure it fits the top of your bottle), CLEAR silicone sealant, and optional clear spray paint (for a shiny finish).
First we routed the edges of the MDF circle so the edges of the circle wouldn't be as sharp for our boy when he sits on it.  This is an optional step though if you don't have a router it is not essential.
Drill a hole through the center of the wood doll head.  Hopefully it has a predrilled tiny hole in the center so it will guide your drill bit, if not I would recommend doing that first.  
Make sure the bit you use cuts a hole big enough for the top of the soda bottles to fit in.  We used a 1'' bit but then had to sand out the inside a little so it fit on easier.  This is what your wood doll head piece should look like when your done.
We also used a router to indent a circle into the MDF circle so the soda bottle would sit  could butt up against the edges and fit nice and snug.  Again this is optional if you don't have a router but it just insures no salt will leak out.
After we had cut circles and legs of the timer to a size we wanted we had to measure the height the hour glass needed to be and cut the soda bottles.  Don't forget to incorporate the routed indent in the MDF circle and the height of the wood doll head in your measurement.  Always measure twice so you only have to cut once. (We learned that the hard way!)
Here is our beautifully spray painted wood pieces.  Make sure you do a couple of coats.
We made an 8'' equilateral triangle out of a piece of paper to mark spots for the wooden legs.  It makes sure they are evenly distributed.  Then we predrilled holes for the screws so there is less of a chance of splitting your wood and the screws go in strait.
We also used a this drill piece, I have no idea what its called, to  cut out a cone shaped piece in the MDF circle so the screw head will sit flush with the top of the circle and not poke out.  
Instead of using the equilateral triangle again we put the two circles together and drilled all the way through them to make sure both circle had evenly distributed holes for the legs to be drilled into.
We also drilled holes into the top and bottom of the wooden legs to make sure they were screwed into correctly
We "dry fit" our pieces together to make sure everything fit before glueing or screwing 
We used a clear silicone to attach our soda bottle to the MDF circle.  It goes on white then dries clear so you know when its dry.
Before you glue on your washer play around with how long you want your sand timer to be.  You might need to drill drill a bigger hole into the top of the washer like us to make sure you have the right amount of sand in your timer and enough sand to make it aesthetically pleasing.  We glued the washer onto the soda bottle top using E6000 glue.
After getting our timer down we added salt, instead of sand because we liked how it was white, to the soda bottle on the side without the washer.
Add your clear silicone to one soda bottle
Then add it to the other side
And attach your wooden doll head and the two sides together.  Make sure that all the edges are completely sealed because you don't want any sand to get out.
Add wood filler on top of your recessed screws and scrape the excess off with a credit card to make sure its flat.  If you need to sand the wood filler down a little bit you can after it has dried. And then add one more coat of spray paint on top.  You can also do a clear coat of spray paint or some polyurethane to give it a nice shiny finish.
One cute boy who I think likes his timeout stool too much ...

Labels: , ,

Friday, January 13, 2012

Family Birthday Chart

Before Christmas, some friends and I made some of these family birthday charts for our mom's. We got the idea from Pinterest of course :-) Sadly, I forgot to take pictures of the one's I made before I gave them to my mom and mother in law. But luckily my sister in law Cami took a picture of the one that she made!
If you don't have time or the tools needed to make one of these, they are for sale in my Etsy shop here!

Please do not use this image to sell your own birthday charts, thanks!!
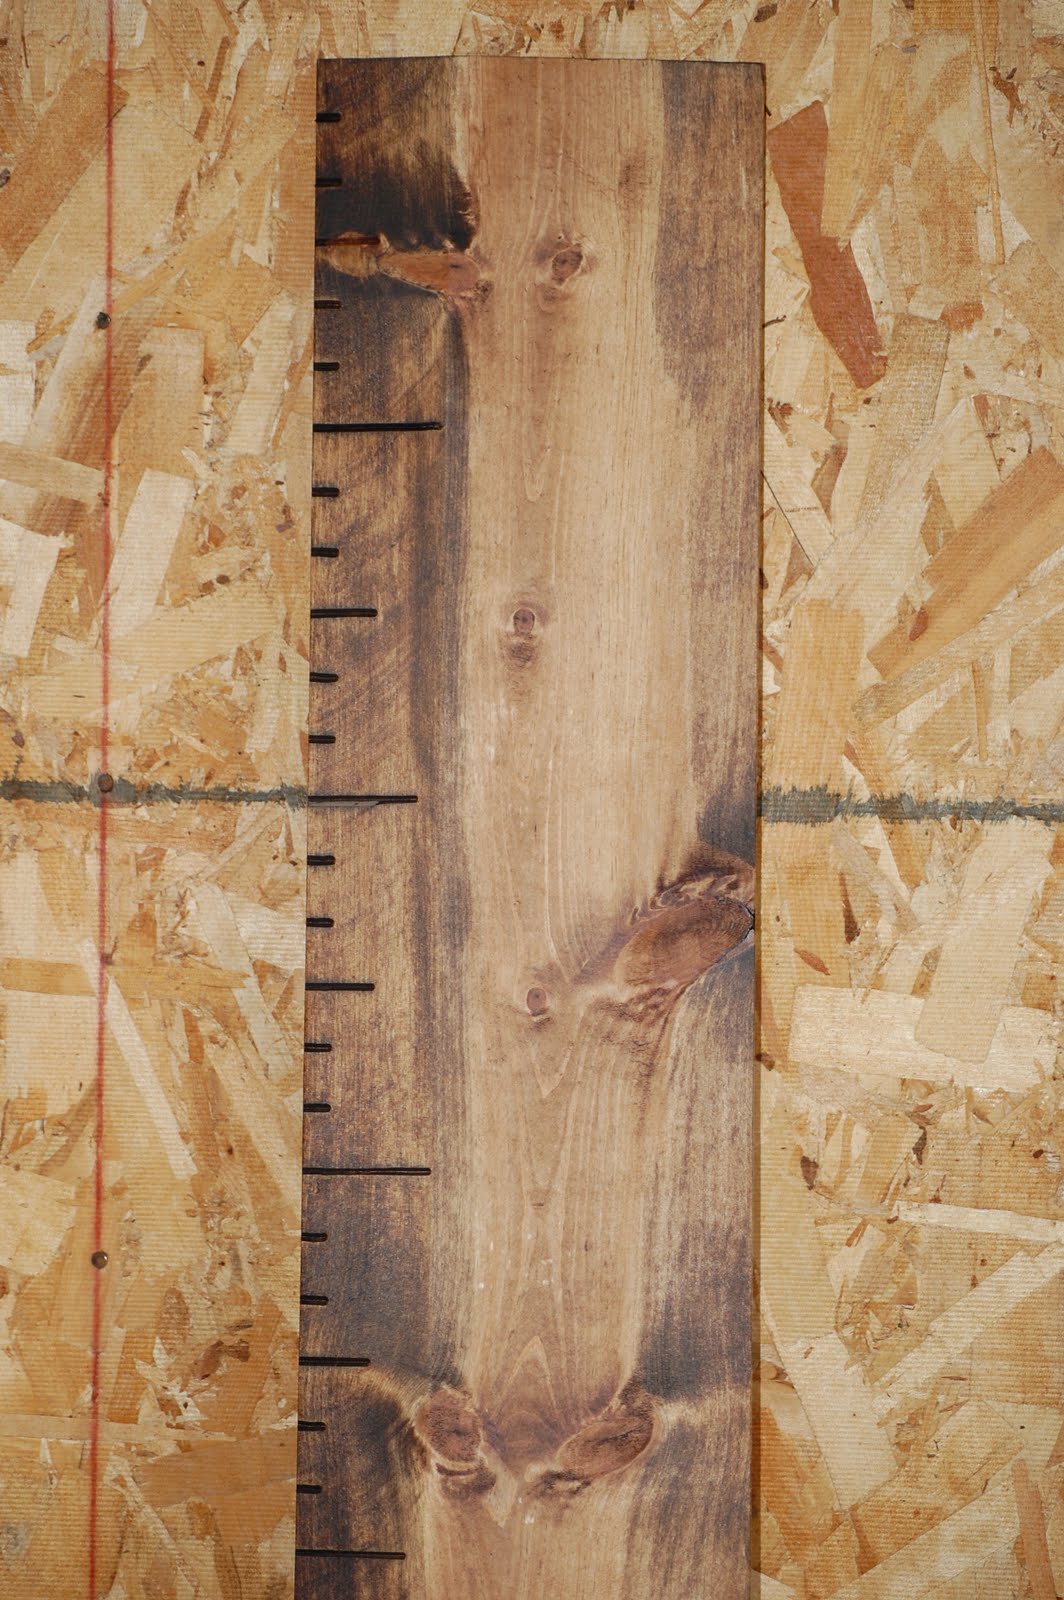
  1. We cut a piece of wood about 24" long and then used the router to make the edges purdy.
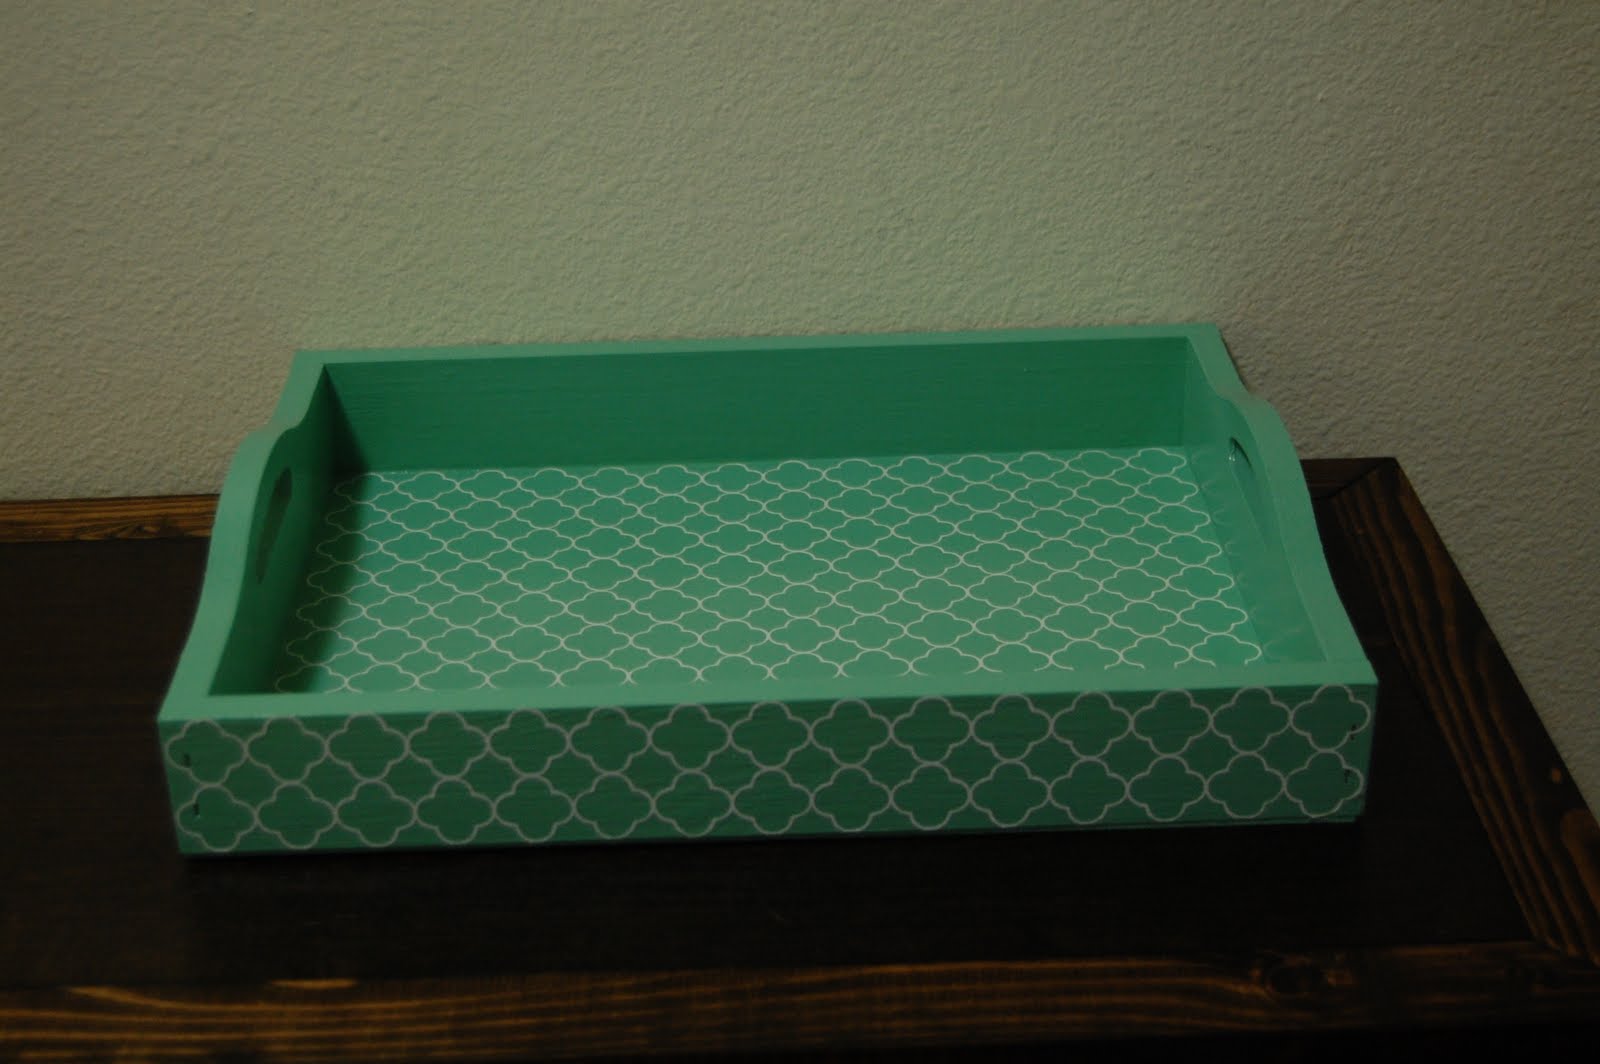
  2. Then, we spray painted the wood. For my mother in laws, I modge podged some patterned scrapbook paper on to hers so it was fancy.
  3. We used the Silhouette to cut out the vinyl. The font is called Teeny Boppin NF.
  4. We got the little circles from our local craft store. I think they are 1 3/4" size. Garrett drilled holes (1/16" drill bit) in the top and bottom of each circle. Those dang things break easy though so be careful! Also I would drill the holes before you paint them because they break so much!
*I now buy my circles online and they don't break because they are thicker.  I get the 2" size which is 1/4" thick
  1. He also drilled some holes in the plaque to hang the circles from. Then we got the little eye hooks from Home Depot to hang them all together with.
  2. Cami color coded the circles by families (There are 9 kids in her family!). Then just write their names on the circles and the # of the day in the month their birthday is on. We hung ours in numerical order.
Here are the screw eyes that I use to connect my circles:
http://www.craftparts.com/silver-screw-eye-p-2476.html
You can also find them at Home Depot and they are size number #216

Here are the circles that I use for the Birthday Chart:
http://www.craftparts.com/wood-circle-disc-p-1870.html

Here are the sawtooth hangers I use for the back of the board:
http://www.craftparts.com/178-sawtooth-hangers-p-2300.html

I got my paints from Home Depot in the little tester sizes.

Here are the paint colors I used:
Gray: Glidden "Seal Gray"
Red: Martha Stewart "Maine Lobster"
Orange: Behr "Poppy Glow"
Yellow: Martha Stewart "Pencil"
Green: Behr "Japanese Fern"
Aqua: Martha Stewart "Duck's Egg"
Blue: Behr "Mosaic Tile"
Purple: Martha Stewart "Violet Aster"
Pink: Martha Stewart "Peony"
Brown: Martha Stewart "Chocolate Truffle" (I think this one got discontinued though)

Labels: ,

Wednesday, December 7, 2011

Fancy Pants Frames

Here are some awesome frames my hubby made for me!
  1. I used my silhouette to make the templates of these frames.
  2. Then, Garrett cut them out of wood and route the edges all fancy. He routed the back of the frames where the glass was gonna go.
  3. He also had to cut out the glass and the back pieces that covered the glass.
  4. Then we sanded and painted them.
  5. Next, I sanded the edges to rough them up a bit.
  6. Then, I put the hardware on the back. (Picture frame turn buttons, and sawtooth hangers)
  7. And finally we sealed them with polyurethane and hung these bad boys up!
I got my paints from Home Depot in the little tester sizes.

Here are the paint colors I used:
Gray: Glidden "Seal Gray"
Red: Martha Stewart "Maine Lobster"
Orange: Behr "Poppy Glow"
Yellow: Martha Stewart "Pencil"
Green: Behr "Japanese Fern"
Aqua: Martha Stewart "Duck's Egg"
Blue: Behr "Mosaic Tile"
Purple: Martha Stewart "Violet Aster"
Pink: Martha Stewart "Peony"
Brown: Martha Stewart "Chocolate Truffle" (I think this one got discontinued though)

Labels: ,

Monday, October 17, 2011

TV Stand

Am I lucky or what? I'm pretty sure I know I have the best hubby in the whole entire world. He made me a TV stand to prevent "The Destructor" from destroying our tv stuff haha.

The Destructor Baby boy helping daddy

Before: Good and it worked for us for a long time but now since the boy is ultra curious and mobile he gets into all of the dvd's and wii stuff so we needed something that we could close shut. Garrett also put glass in front of the DVR, blu-ray and wii so that there won't be any button pushing!
Voila! Thanks hubby!

Labels:

Monday, October 3, 2011

Growth Ruler

Here is where I got my inspiration from. I did mine a little bit different but their way is probably much easier. I wanted to make mine fancy pants cuz I want it to be a family heirloom. I plan on marking all of my kids' heights on it annually on their birthday. I might even put their birth heights on there just for fun! I think I am just gonna use a sharpie and try and write extra nice on it! I can't claim all of the credit bcuz Garrett did all of the manly stuff like cutting and routing but I designed/thought of it and stained and did the numbers ;-)
1"x8" 6ft long piece of pine
Made an angled cut like a real ruler has (Sorry Garrett forgot the precise name of the cut)
Then routed inch and foot marks in it
Stained it with some Mini wax I think the color I used was called Provincial. It actually worked out perfectly because I thought I was gonna have to paint the lines after I stained it to make them darker and more noticeable but the stain did the job for me!
I cut out my numbers with an electronic die cutter but you could use a stencil or stickers. Then, I mod-podged them onto the board. I think I did 2-3 coats. Try not to be too messy with the mod-podge because it shows after your all done, oops ;-p
Then we sealed it with some polyurethane semi gloss, hung it up on the wall and put a little boy in front of it!
Close up of 1 & 2
Close up of 3 & 4
Close up of 5 & 6

Labels: ,

Friday, September 9, 2011

Quatrefoil Tray

Unfinished wood tray I got from Amazon.com
Martha Stewart Living paint color: Bird's egg
The tray after a couple coats of paint
We used a Silhouette die cutter to cut this quatrefoil pattern out of vinyl
Got some of this awesome stuff to add a nice and shiny finish
And Voila!
On my lovely console table Garrett made me ;-) I think I may put my laptop in it for now ... and yes that is a giant container full of Starbursts!

Labels: , ,

DIY Console Table

Garrett made me this AmAzInG console table for me for my birthday! We got the instructions plans from this website, all the plans from there are free. Little does Garrett know that now since this turned out so good I have a long list of new projects for him ;-) I can't wait to put stuff on this thing and in it!
Front view (I know I have dirty carpets, don't judge!)
Top view
Side view
This is what he started with just a bunch of wood
My brother Taylor helping
Assembled but unstained with a photo bomber
Wax on wax off

Labels: